#
企业/项目 安全建设
2020-11-06
手动创建ssl证书用于https网站,使用Cloudflare永久免费使用ssl证书
1.生成一个RSA密钥
[root@localhost ssl]# openssl genrsa -des3 -out nginx.key 1024 #实际使用中看服务器性能,如果足够好也可以使用4096位秘钥
Generating RSA private key, 1024 bit long modulus
…….++++++
…++++++
e is 65537 (0x10001)
Enter pass phrase for nginx.key: #输入密码,自定义,不少于4个字符
Verifying - Enter pass phrase for nginx.key: #确认密码
2.生成一个证书请求
[root@localhost ssl]# openssl req -new -key nginx.key -out nginx.csr
Enter pass phrase for nginx.key: #输入刚刚创建的秘密码
You are about to be asked to enter information that will be incorporated
into your certificate request.
What you are about to enter is what is called a Distinguished Name or a DN.
There are quite a few fields but you can leave some blank
For some fields there will be a default value,
If you enter '.', the field will be left blank.
Country Name (2 letter code) [XX]:CN #国家名称
State or Province Name (full name) []:xxxx #省
Locality Name (eg, city) [Default City]:xxxxx #市
Organization Name (eg, company) [Default Company Ltd]:xxxxx #公司
Organizational Unit Name (eg, section) []:xxxxxx #部门
Common Name (eg, your name or your server's hostname) []:.mydomain.com #注意,此处应当填写你要部署的域名,如果是单个则直接添加即可,如果不确定,使用,表示可以对所有mydomain.com的子域名做认证
Email Address []:[email protected] #以域名结尾即可
Please enter the following 'extra' attributes
to be sent with your certificate request
A challenge password []: #是否设置密码,可以不写直接回车
3.创建不需要输入密码的RSA证书,否则每次reload、restart nginx都需要输入密码
[root@localhost ssl]# openssl rsa -in nginx.key -out nginx_nopass.key
Enter pass phrase for nginx.key: #之前RSA秘钥创建时的密码 writing RSA key
4.签发证书(由于是测试自己签发,实际应该将自己生成的csr文件提交给SSL认证机构认证)
[root@localhost ssl]# openssl x509 -req -days 36500 -in nginx.csr -signkey nginx.key -out nginx.crt
Signature ok subject=/C=CN/ST=xxxx/L=xxxxx/O=xxxxx/OU=xxxxx/CN=*.mydomain.com/[email protected] Getting Private key Enter pass phrase for nginx.key: #RSA创建时的密码 days代表证书有效天数,先弄个十年的。

之后把nginx.crt证书和nginx_nopass.key 文件配置进入nginx即可。
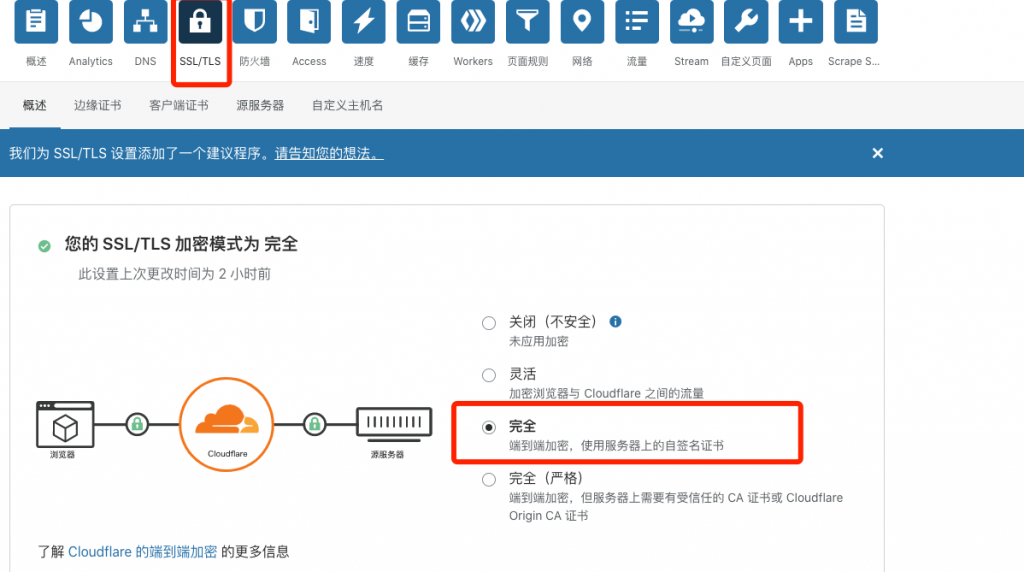
5.nginx配置部分省略,开始设置cloudflare 启用SSL功能以及防火墙功能
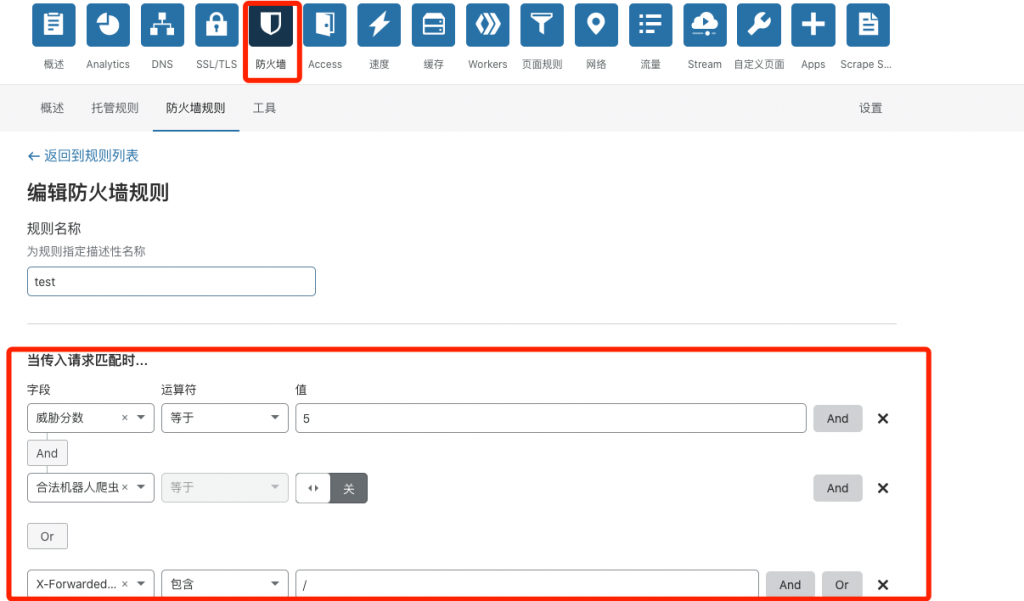
配置好之后重启nginx即可使用,还能拦截爬虫和各种垃圾留言。


TAGS:
无标签
相关推荐
- 暂无相关推荐,看看别的吧。
0 评论